Saturday, July 17, 2010

6 Months

Sitting, laughing, babbling, grabbing, chewing, drooling, reaching... what a sweetness. :)


Thursday, July 15, 2010

Remember

Last night while we were eating dessert:

Tyler: "A man's gotta remember what a man's gotta remember."

Me: "Oh yeah? What does a man have to remember?"

Tyler: (Paused to think, then held up his fingers to indicate each number)
"Number one, never chew with your mouth open.
Number two, be nice to your wife.
Number three, take care of your kids."

Not sure whether this is in order of priority, but they all sound good to me. :)

Sunday, July 11, 2010

34 years

"I can't believe you and Daddy survived for 34 years. Do you think you'll stay alive for another year?"

:)

Wednesday, June 30, 2010

Grilled Pizza

Last evening, we grilled pizzas. A couple of weeks ago, for our first attempt at grilling pizzas, we had used pre-made pita flat breads, which worked well. This time, I didn't want to run to the store just for the crust, so I found a recipe on epicurious.com. Wayne thought these were a step up, so I thought I'd share it. If you decide to try it, it is easy, but just know that you'll want to start the dough several hours before dinner time. (It took mine about 1 1/2 hours to rise, then an additional hour to chill). And, if you have a favorite recipe for grilled pizza dough, or favorite toppings, I would love to hear about it!

Grilled Pizza Dough
- Adapted from a recipe on epicurious.com

Makes 4 10-inch pizzas

2/3 cup warm water
2 1/2 teaspoons active dry yeast
1/2 teaspoon sugar
2 tablespoons oil
1 3/4 - 2 cups all-purpose unbleached flour
1/4 cup cornmeal
2 teaspoons kosher salt

To make pizza dough:
In a large bowl, mix together the warm water, yeast and sugar and let stand until foamy, about 10 minutes. Stir in oil, 1 3/4 cups flour, cornmeal and salt and blend until the mixture forms a dough. Knead until smooth and elastic. You may need to add the remaining 1/4 cup flour. I did not add additional flour, and ended up adding about another teaspoon of water instead. Spray cooking spray in a large bowl, put dough in the bowl and spray it with cooking spray. Cover with plastic wrap. Let rise, about an hour, until doubled in size. Punch down and divide into four balls.

To roll out dough for pizzas:
Spray a cooking sheet with cooking spray.
Roll out one ball of dough into a 10-inch circle. Transfer to the baking sheet and cover completely with plastic wrap. Repeat with remaining dough balls and stack the rolled out pieces on top of each other with plastic wrap between. (I sprayed each layer with cooking spray so that they wouldn't stick - I'm not sure whether this is essential or not). Be sure that the entire stack is well covered with plastic wrap. Chill in the freezer for at least 1 hour, up to 4 hours.

To make pizzas:
Take one rolled out pizza crust. (Keep the crusts you are not working with in the freezer - they are much easier to work with when they are firm). Spray one side with cooking spray. Carefully transfer it, oiled side down, onto your pre-heated grill. Grill until it is golden brown on the bottom, about 4 minutes. Take the crust off the grill, flip it over and placed the toppings on the grilled side. Then, carefully place it back on the grill until the under side is golden brown, and the cheese is bubbly.

It really is less intimidating than it may sound.
And, I must include a couple of pictures of Aubrey. Because she is a little more stable when it comes to sitting...


She ate in her high chair for the first time last night. Doesn't she look impressed? ;) I don't blame her. I don't think oatmeal is as tasty as pizza either.


Sunday, June 27, 2010

Red Potato Salad With Bacon

In general, I'm not a fan of potato salad. This one, however, I really like. It's simple, isn't so creamy, and it has bacon. Which, of course, is always a good thing. :) We're enjoying this tonight with brats and a coleslaw. Mmmm, I love summer food!

Red Potato Salad With Bacon
- Paula Deen
4-6 servings

6 cups cubed red-skinned potatoes, unpeeled
2 ounces bacon (2-3 strips)
1 cup chopped bell pepper (any color or a combination)
1/4 cup minced red onion
1/4 cup sliced scallions (about 2) *
1/4 cup extra virgin olive oil
3 tablespoons red wine vinegar
1 tablespoon Dijon mustard
1 tablespoon mayonnaise
Freshly ground pepper

*I have been substituting chives only because they are growing like crazy in my garden right now and they go well with potatoes.

Put the potatoes in a large pot; add water to cover and season with 1/4 teaspoon salt. Bring to a boil over medium high heat and cook until tender, 8-10 minutes. Drain and cool slightly.

Meanwhile, cook the bacon, drain, and finely chop. (Instead, I microwave bacon between layers of paper towels, which is quick and eliminates the splatters on my stove top).

In a large bowl, combine the potatoes, bacon, bell pepper, onion and scallions (or chives).

In a small bowl, whisk the olive oil, vinegar, mustard, mayonnaise, 1/4 teaspoon salt and 1/4 teaspoon pepper. Pour over the potato mixture, tossing gently to coat. Cover and refrigerate, or serve at room temperature. (Room temperature is my favorite).

Enjoy!

Sunday, June 20, 2010

Baby Food

With Tyler, I bought all of his baby food. This time around, I thought it would be fun to try making baby food. For anyone else out there who is interested, I've been using this website that has lots of instructions, recipes, and nutritional information. So far it's been pretty easy. I have put up applesauce (from a Sara Moulton recipe), sweet potatoes, pears, carrots, and green beans. (Well, and a few slices of avocados if that counts - but there isn't anything to it, and Aubrey doesn't like them anyway...at least not yet). Though she can't eat everything I've made, what she can eat (other than avocados), she likes. I don't know whether I'll make all of her baby food, but that's my goal and so far, I'm enjoying it. If any of you have tips, recipes or favorite websites to share, I'd love to hear about them!

Saturday, June 19, 2010

Teeth and more teeth


Tyler lost his second baby tooth early this week. I think it practically fell out, he waited so long. As you can tell, his new tooth had been poking through behind that baby tooth for some time. We don't do Santa or the Easter Bunny, but the Tooth Fairy, yes. As we prepared to put his tooth under his pillow that night, he was giving his tooth a heartfelt goodbye. I think he even told his tooth that he loved it. I wondered if he would like me to ask the tooth fairy if she could leave his tooth this time. He thought that was a great idea. In fact, he started giving me "tips" for how to catch her if she tries to fly away. It had something to do with sneaking up behind her, and catching her by her legs so she couldn't fly away. :)

Later in the week, he had a dentist appointment. I learned that his difficulty with chewing these days is not only due to his four (now three) loose teeth. Tyler is teething. His top two six-year molars have come in and the 2 bottom molars are close.

I know he's not a baby. But, this whole thing with losing his baby teeth is a reminder that he is quickly growing up. Makes me a little sad.

Tuesday, June 15, 2010

And a few more...

Lynette took these pictures too. (And lots of other good ones - it was hard to narrow down).
I think I need to hire her!


More pictures from our trip to Indiana

Lynette kindly sent me more pictures from our time in Indiana.

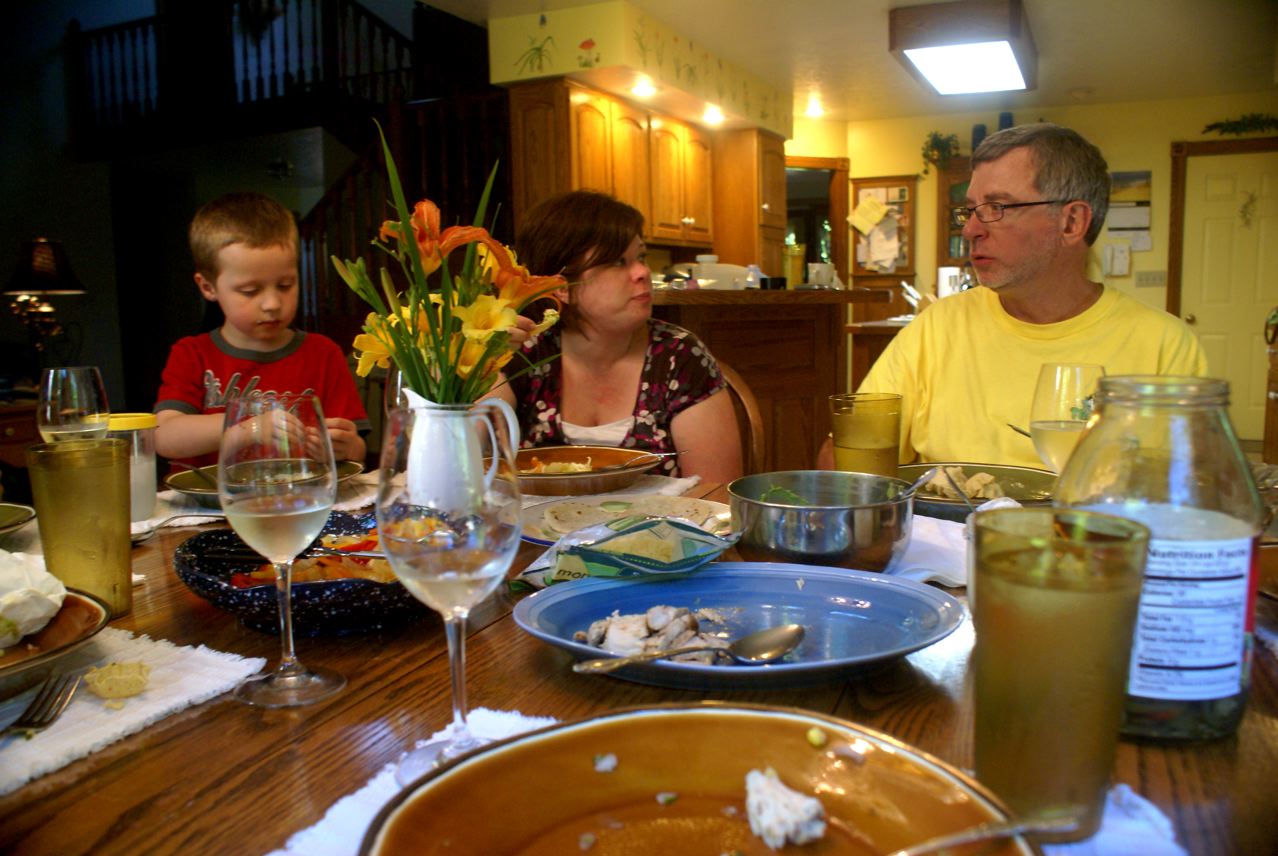
Here we are enjoying dinner our last evening there.


Mom holding Aubrey


Mom holding Aubrey in her makeshift sling.


Dad with his new (to me) beard.


Dreamy Chocolate Mousse


A coworker shared this recipe. I made half a batch last night, and now that I know how simple it is to make...it might be dangerous.

It's decadent, smooth, creamy and delicious. I'm dreaming up ways to tweak it a little. Like drizzling in a little amaretto liquor, slathering it between layers of chocolate cake, topping the cake with chocolate ganache sprinkled with almond slivers. Or dolloping onto angel food cake with strawberries. Or mixing in a little strong, cold coffee for mocha mousse.

Or, most likely, I'll enjoy it just as it is. A spoonful or two is really all you need for a chocolate fix. (Or maybe just a few more spoonfuls). To balance things out, I'm glad to have picked my first zucchini and squash from the garden this afternoon! :)

Dreamy Chocolate Mousse
Makes 4 1/2 cups

1 envelope unflavored gelatin
3 tablespoons cold water
1/4 cup boiling water
1 cup sugar
1/2 cup unsweetened cocoa powder
3 cups heavy whipping cream

1. In a small bowl, soften gelatin in 3 tablespoons cold water. Let stand for 2 minutes. Add 1/4 cup boiling water, stirring until gelatin dissolves. Set aside.

2. In a small bowl, combine sugar and cocoa powder.

3. In a medium bowl, beat cream at medium speed with an electric mixer until foamy. Gradually add sugar mixture, beating until stiff peaks form. Stir (or beat) in gelatin mixture. Cover and chill 4 hours. (The waiting was the hardest part)!


Posted by Picasa